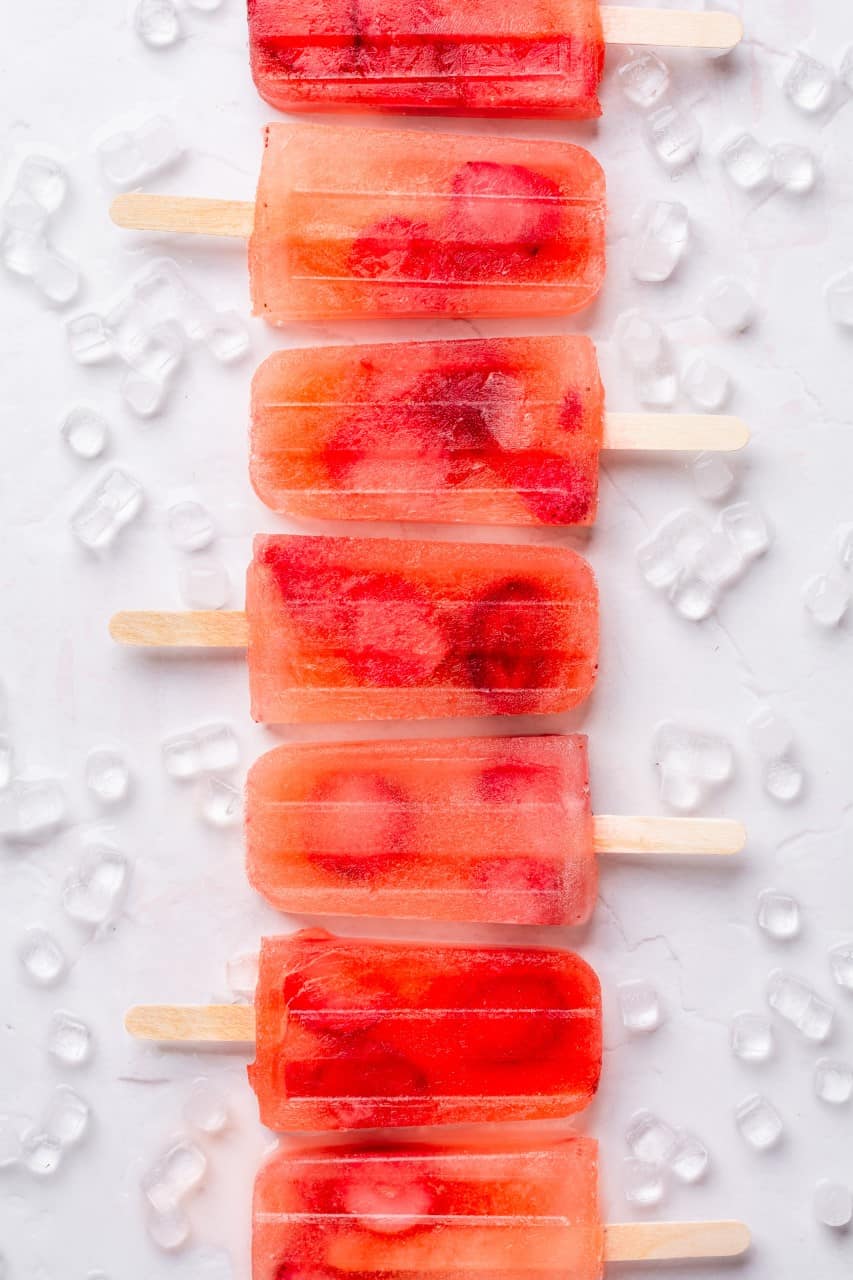
These homemade, all-natural strawberry lemonade popsicles are the perfect way to cool off this spring and summer! They're healthy, super refreshing, easy to make, and only call for 4 simple ingredients.
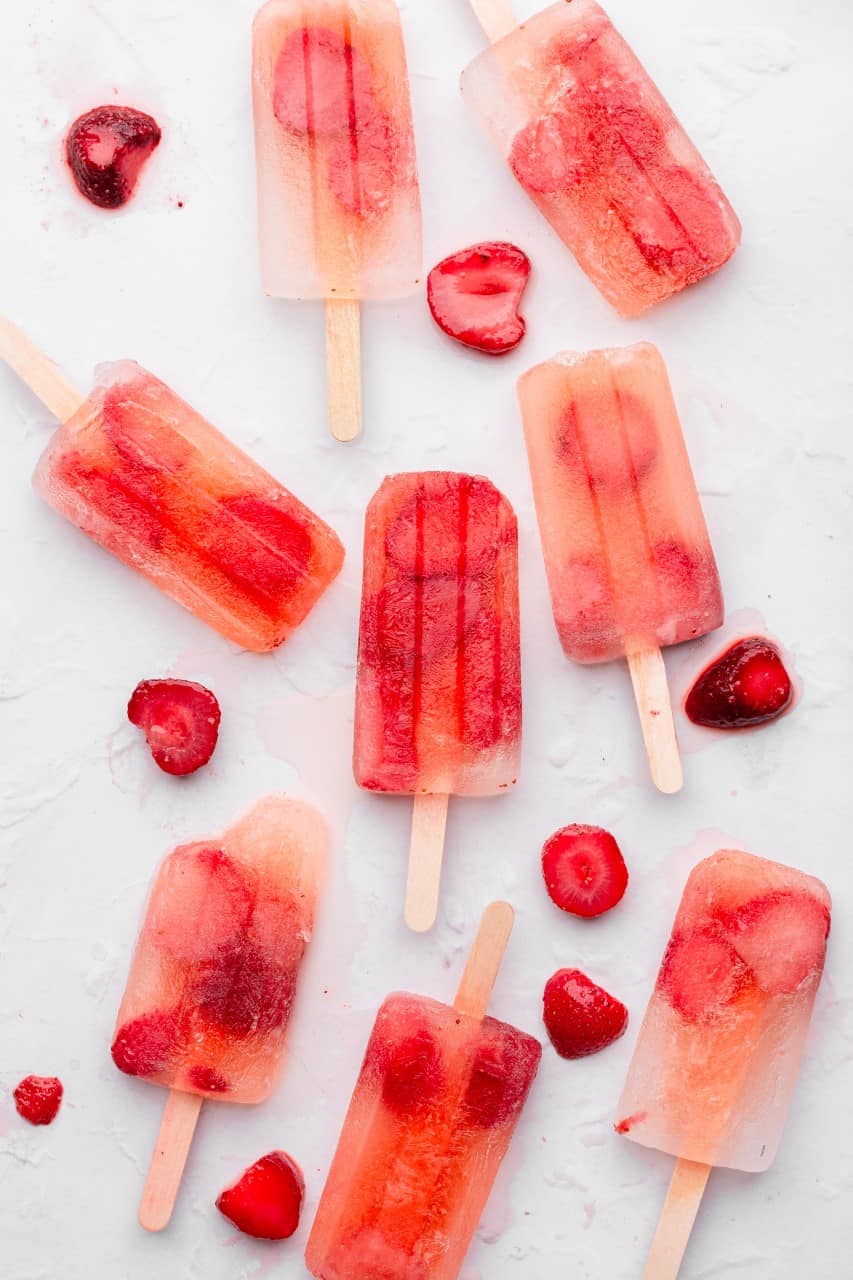
These popsicles are perfect to make for a party, for your kids, or just to have in the freezer for when you're craving something sweet. Even better, these popsicles are naturally vegan, plant based, gluten free, and refined sugar free!!
Key Ingredients
This recipe is only calls for 4 all natural ingredients:
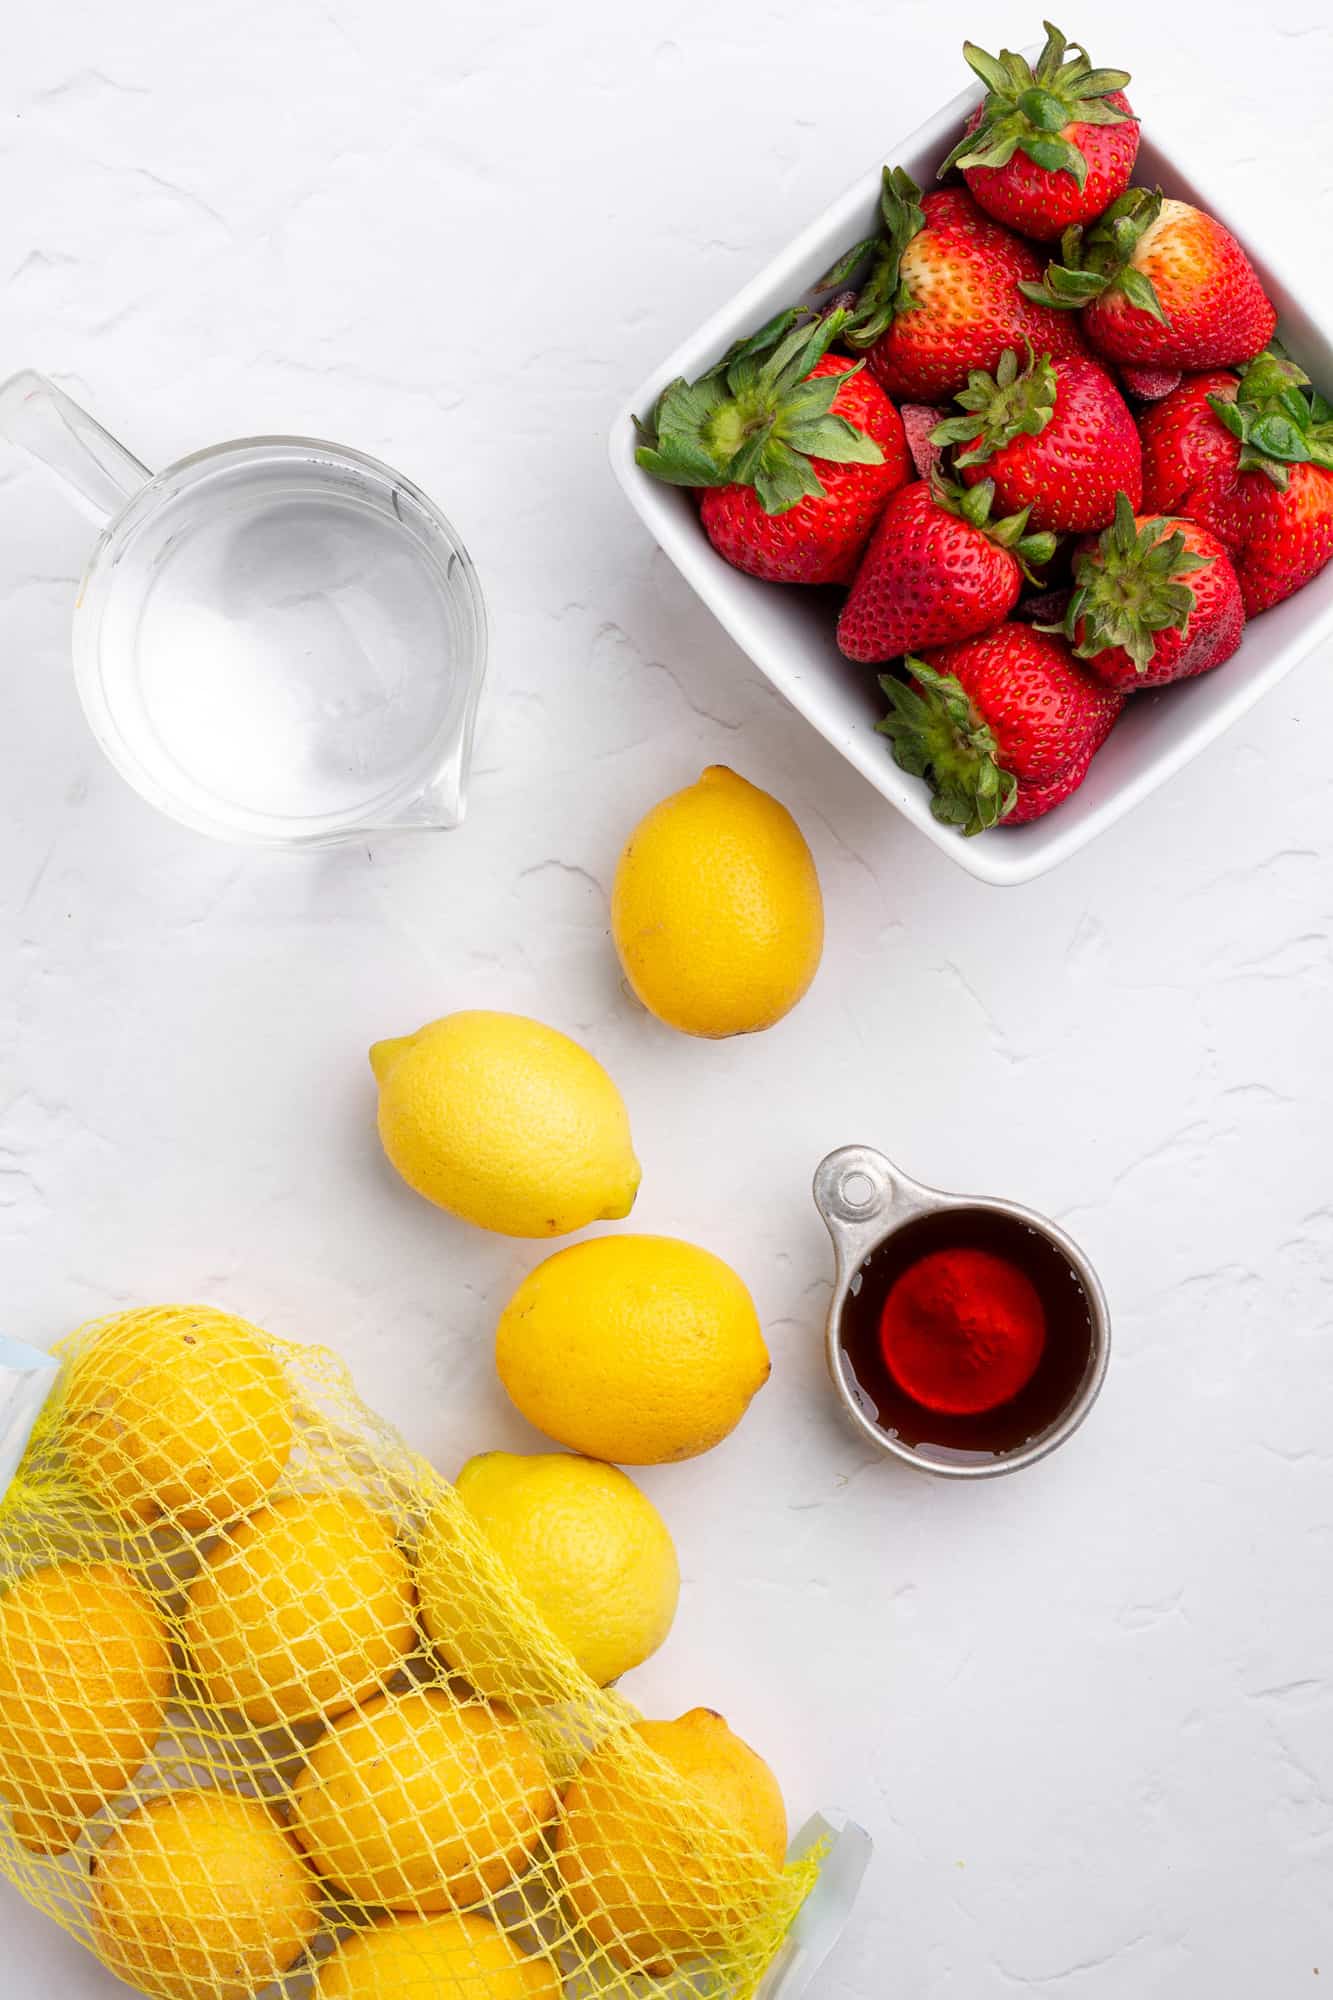
- Strawberries: our fruit for this fruit pops! You can use fresh or frozen strawberries for this recipe.
- Lemons: we'll be using the juice to make the 'lemonade' portion of these popsicles! Also, lemon juice helps to keep fruits like strawberries fresh.
- Maple Syrup: to act as a natural, refined sugar free, sweetener!
- Water: our base for these healthy popsicles!
Instructions
Popsicles are shockingly easy to make, especially this recipe where we're not making a bunch of different layers.
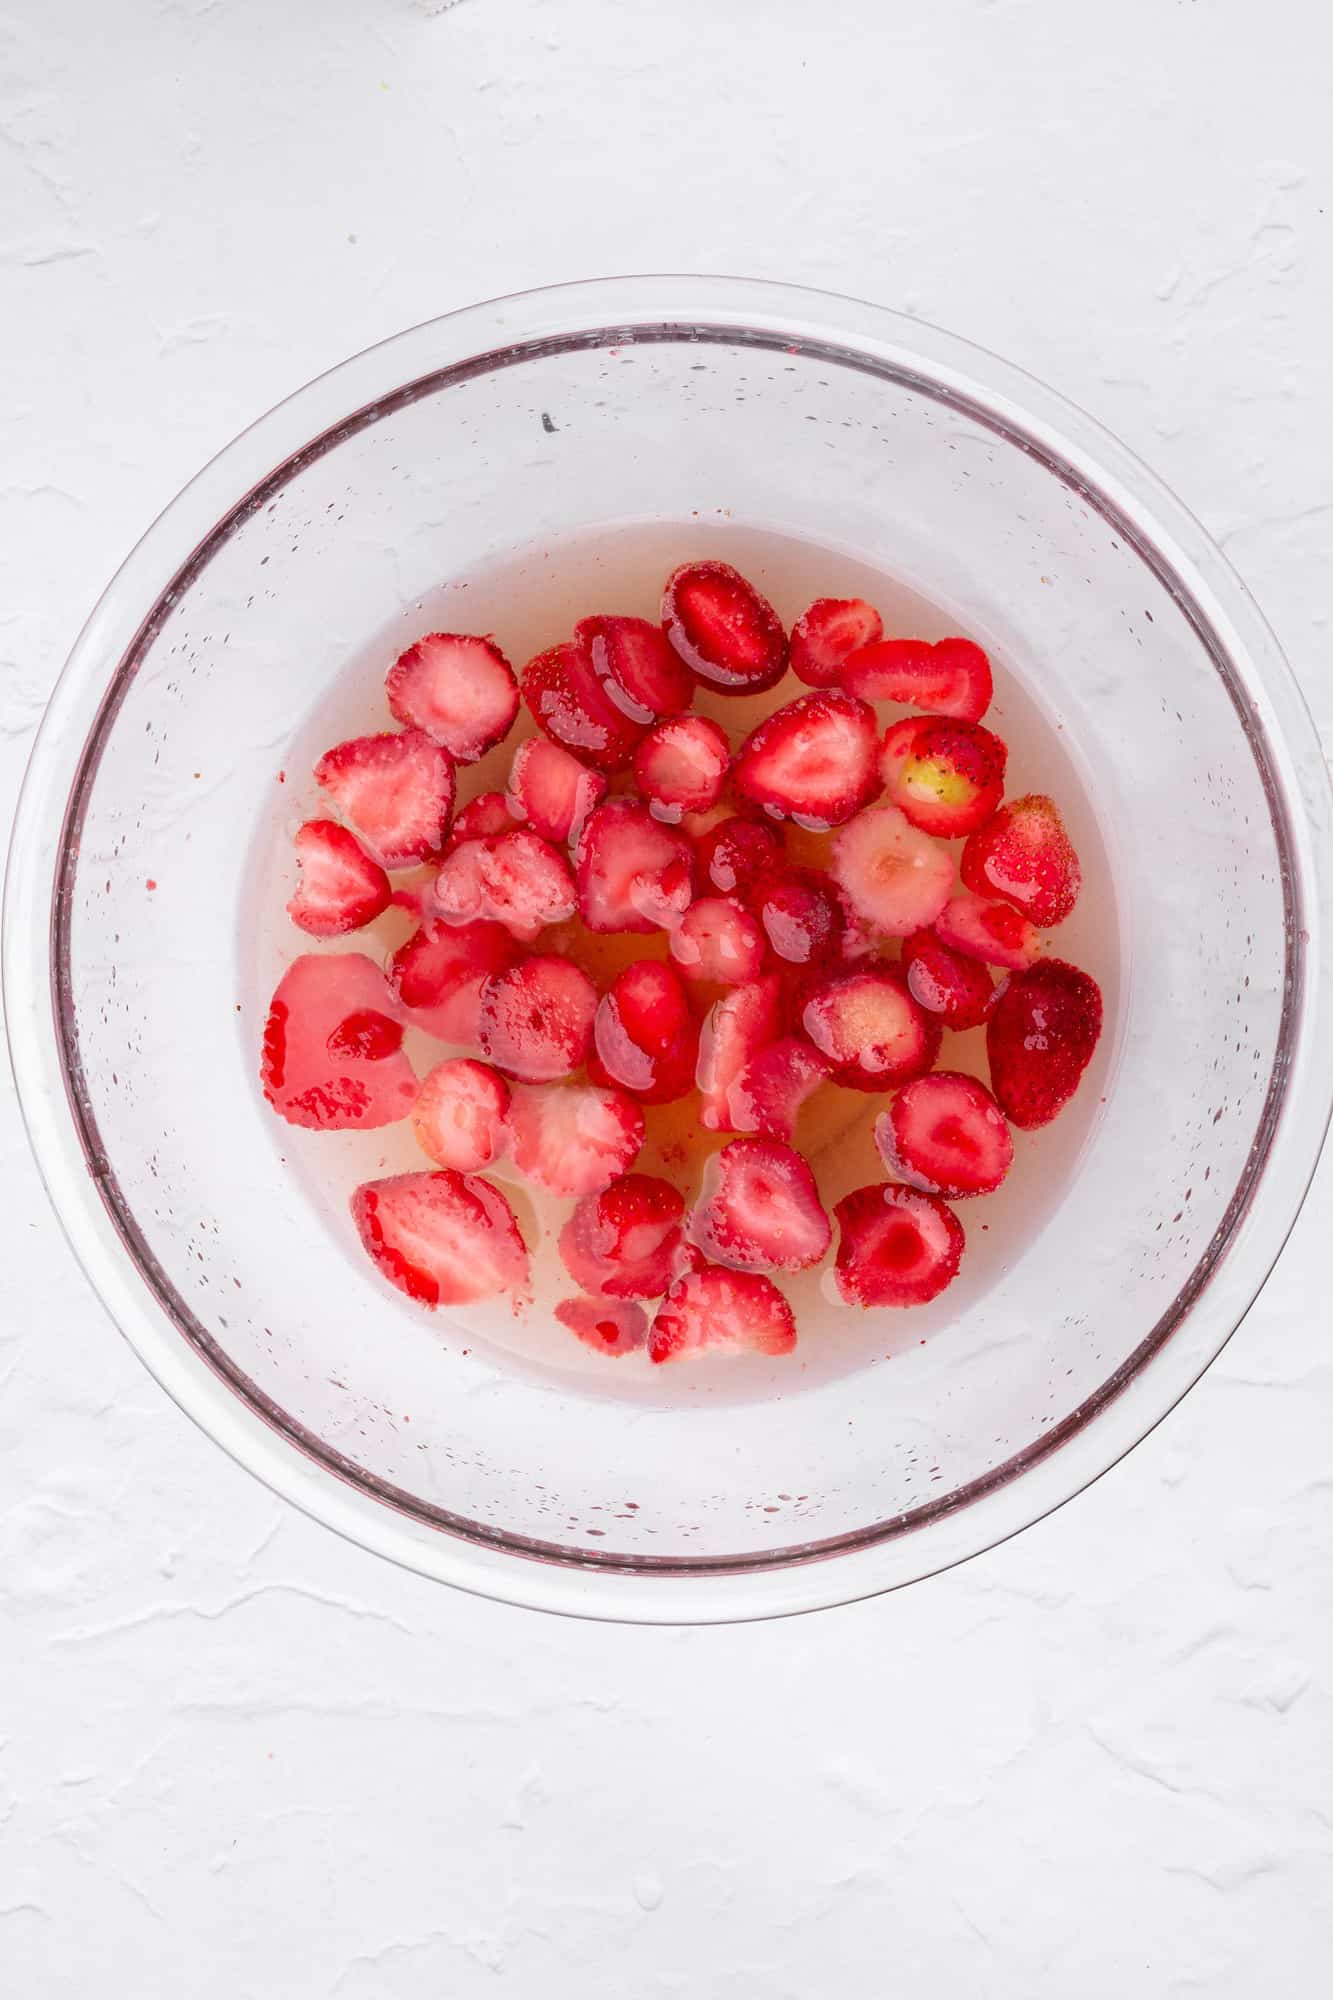
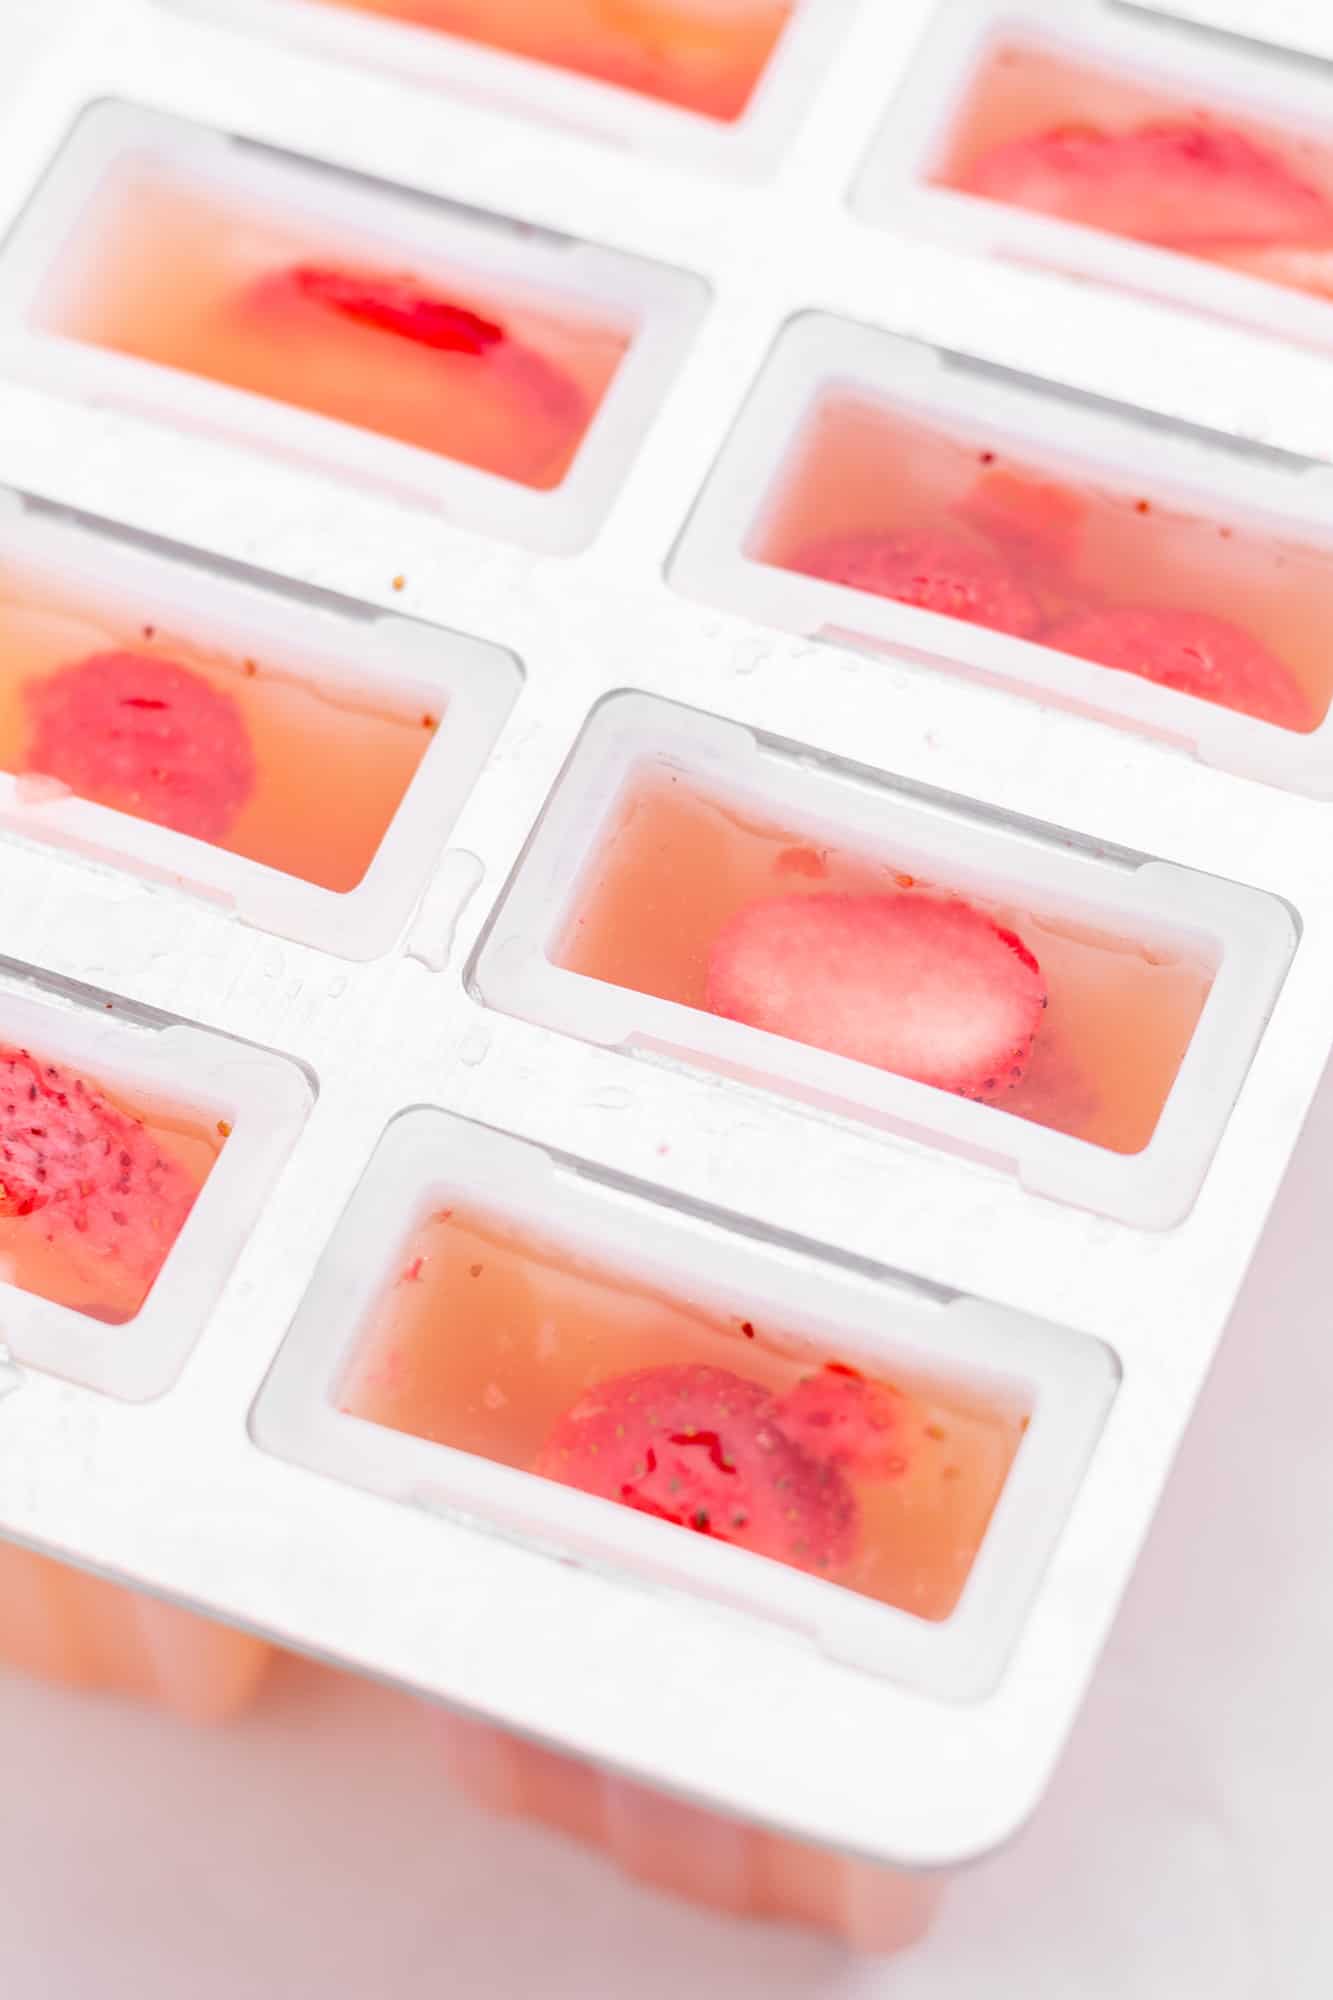
- In a large bowl, mix together sliced strawberries, lemon juice, maple syrup, and water.
- Using a ¼ cup measure and a funnel (funnel not necessary but super helpful so you don't spill everywhere), divide the mixture between a 10 cavity popsicle mold, leaving ~¼ inch of space at the top of each cavity.
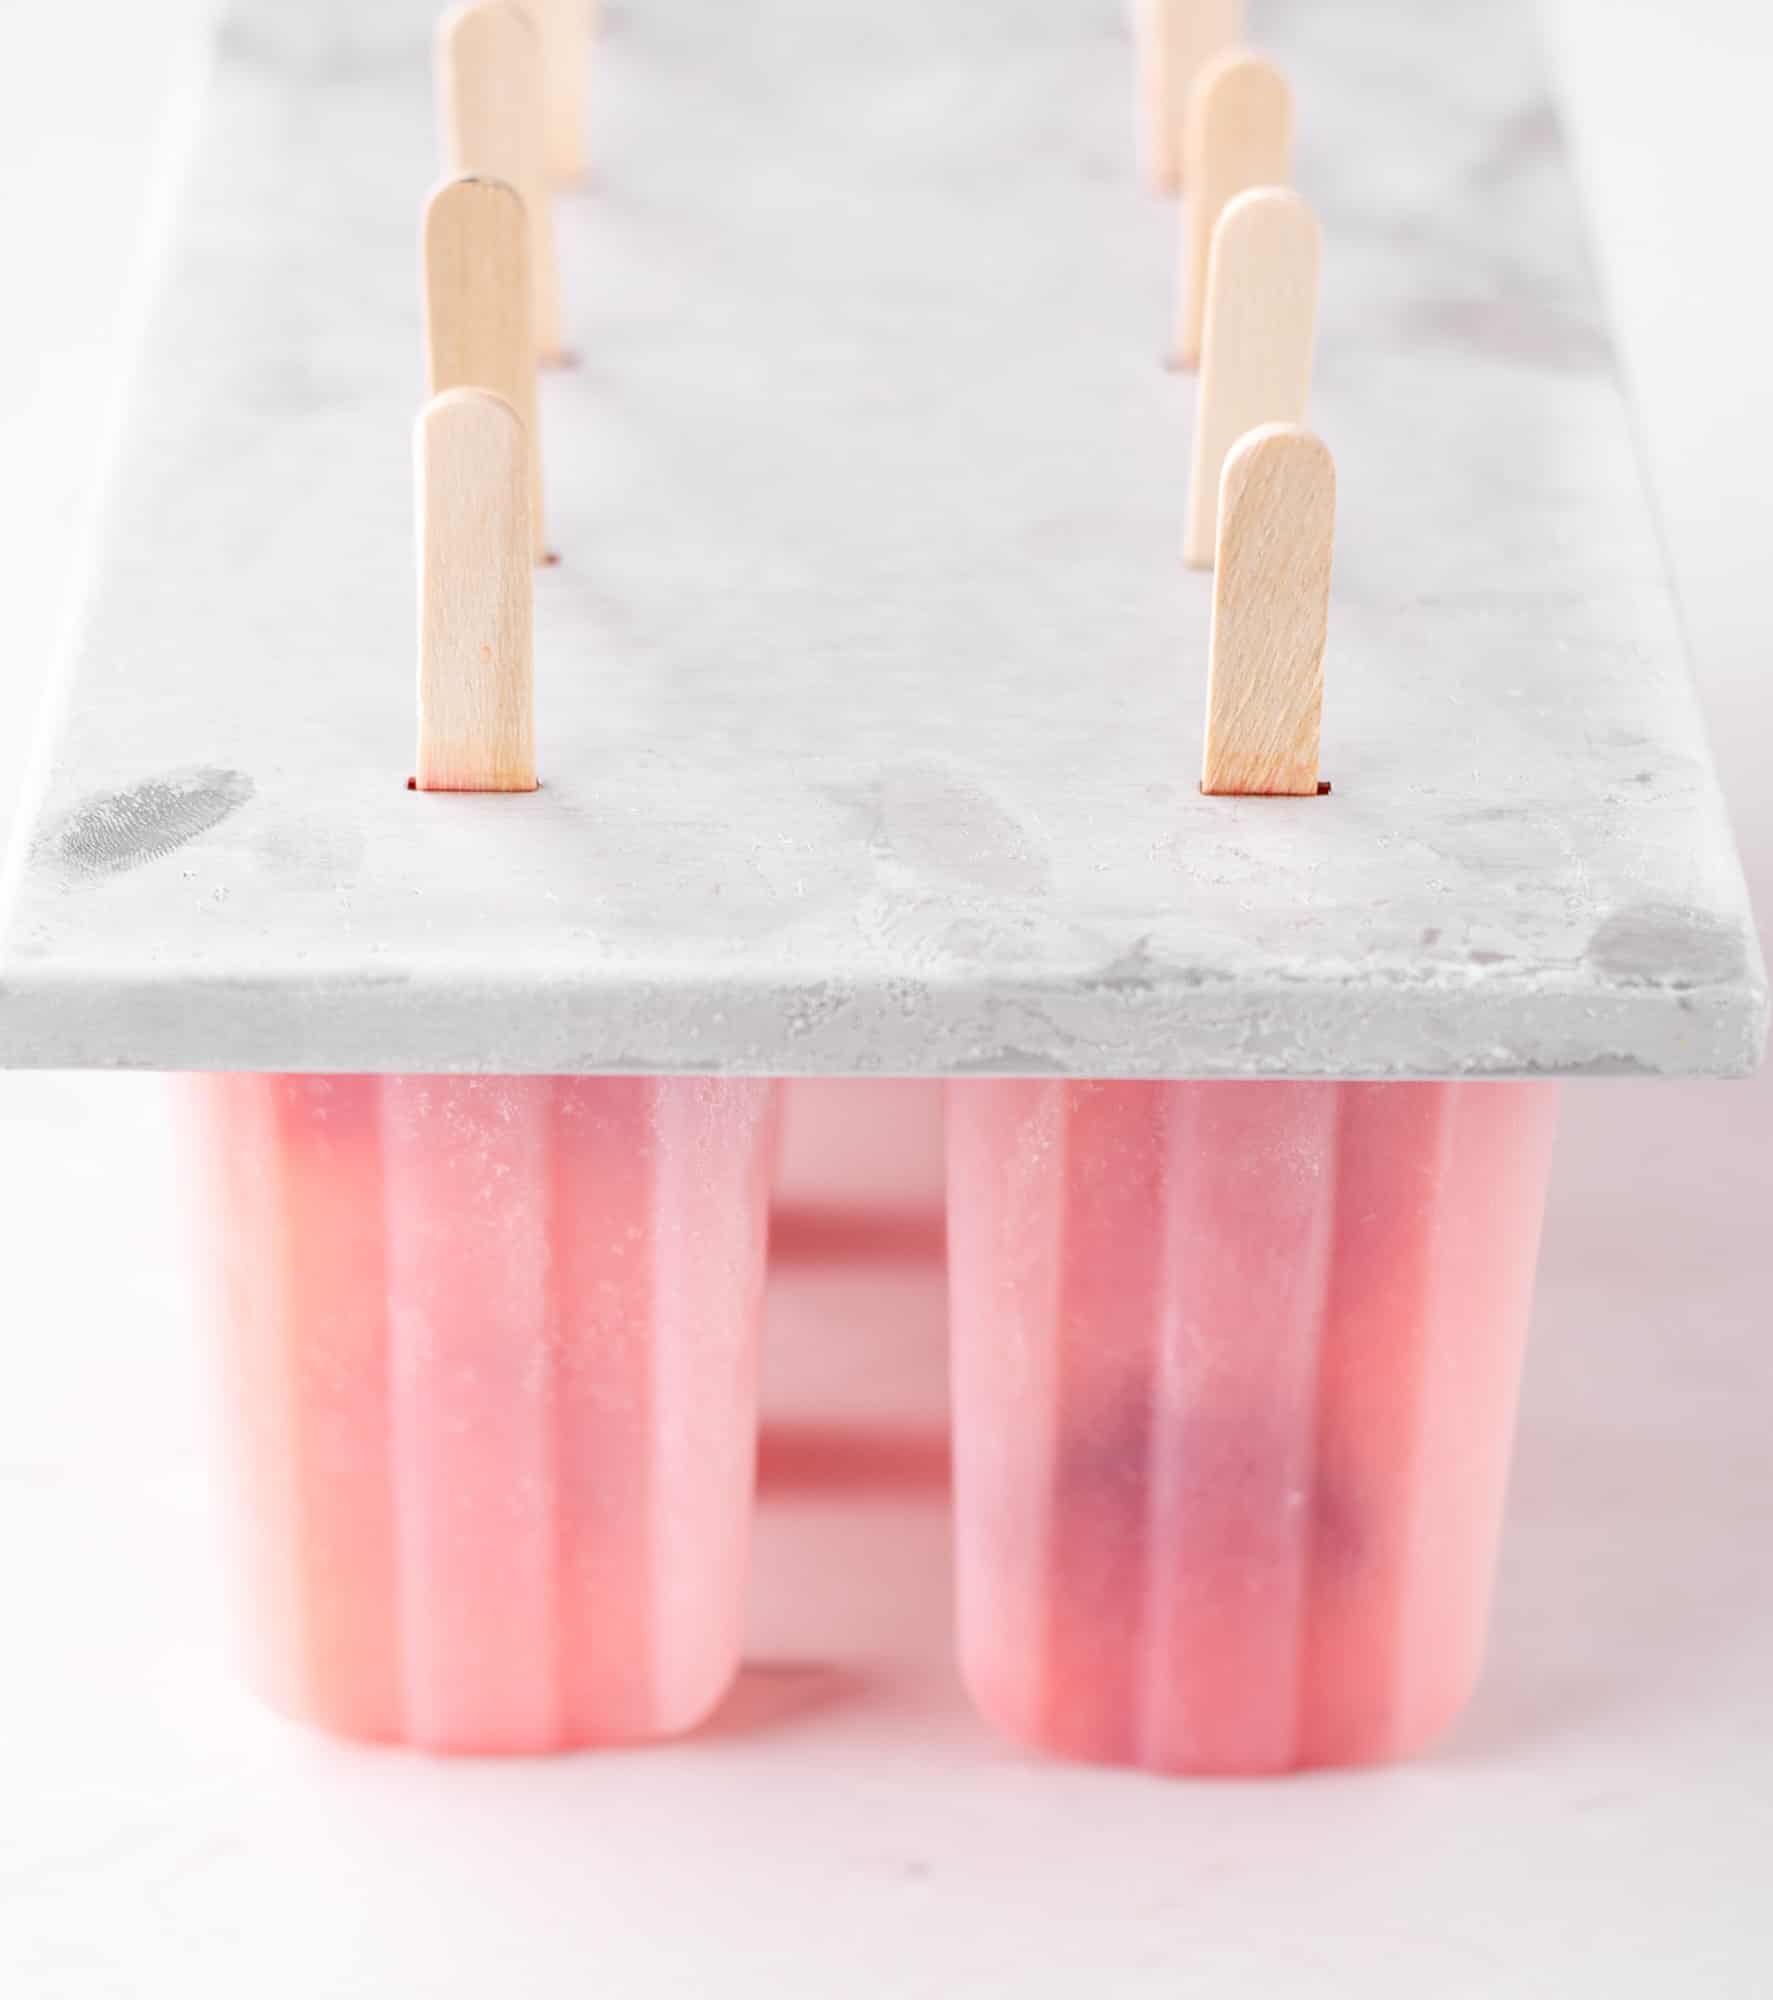
- Put the lid on and freeze for 40 minutes. Remove from the freezer and add in the popsicle sticks. Place back in the freezer overnight or for at least 6-8 hours, until fully frozen.
- When you're ready to serve, run the bottom of the popsicle mold under water for ~20-30 seconds in order to easily release the popsicles. ENJOY!
Recipe Variations
I love this recipe as is but you can definitely make a few changes if you'd like!
- Use a different fruit! You totally don't have to use strawberries. You can use blueberries and make blueberry lemonade popsicles or even raspberries for raspberry lemonade popsicles. YUM. The lemon juice pairs really well with fruit, so pick your favorite!
- Make boozy popsicles by adding 1.5oz of your preferred alcohol. Personally, I'd toss in a flavored vodka. Don't add much more or use alcohol as the base for popsicles because they will not freeze.
- Use a different sweetener like sugar or agave! Do not omit it completely.
- Put all of the ingredients in a blender! This will make popsicles completely uniform and you won't have chunks of strawberries.
Quick Tips
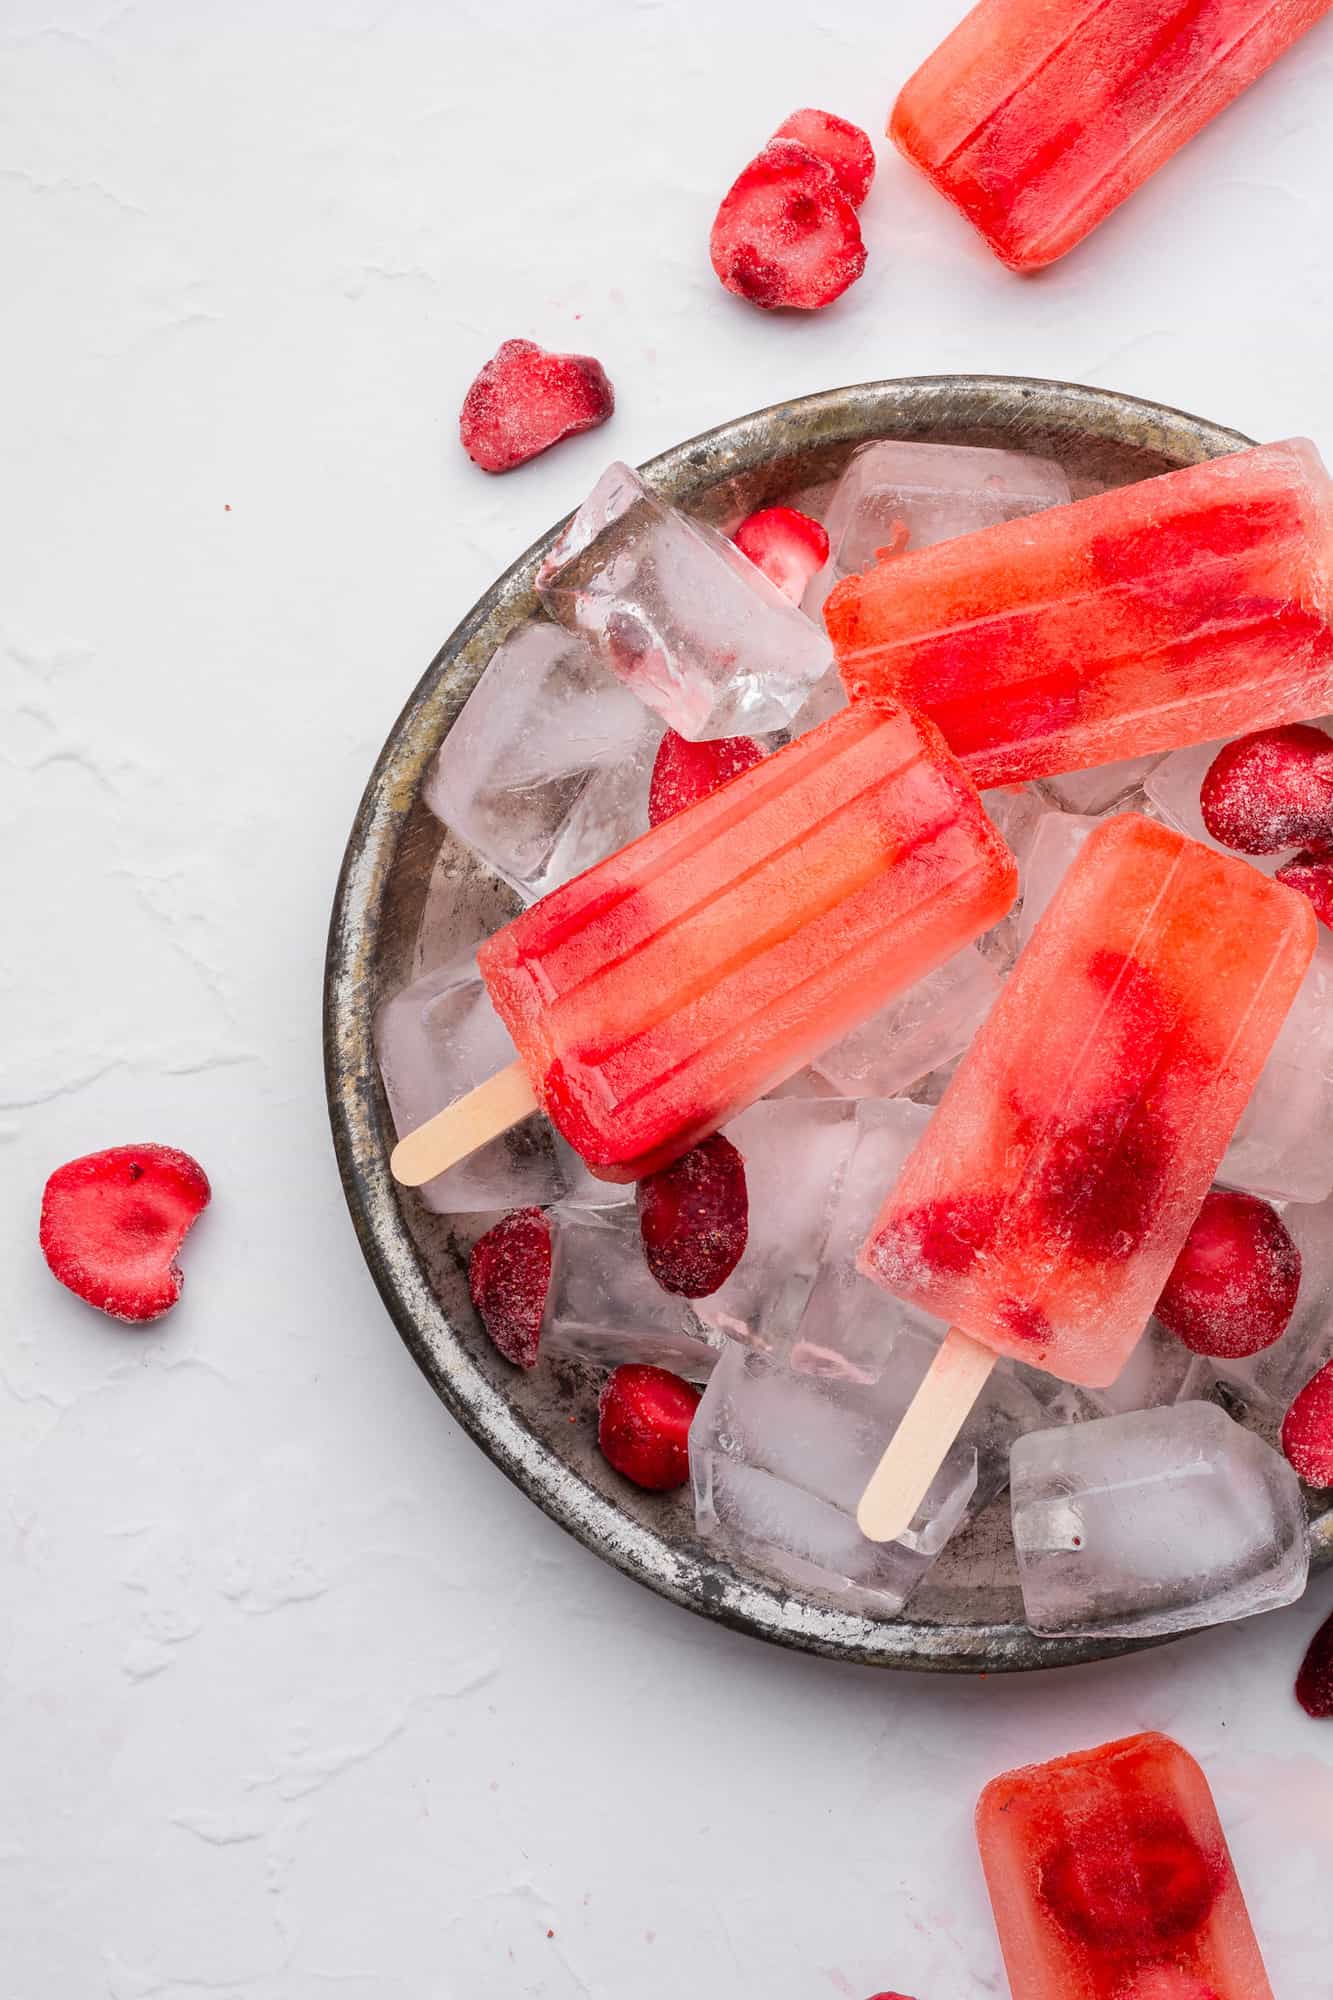
Popsicles can sometimes be a little tricky so just make sure you follow these tips and they'll be perfect!
- Do not skip adding a sweetener!!! The sugar from a sweetener will ensure that the popsicles are biteable and not as solid as a typical ice cube.
- Leave ¼ inch of room at the top of each cavity. You don't want to fill them to the very top, as the liquid will expand while it freezes and spill over.
- Run the mold until warm water for about 30 seconds when you're ready to serve the popsicles. This will not melt the popsicles or make them warm at all, but will just release them from the walls of the mold so they're easy to pull out.
- Make sure you're using ripe fruit! This will give you the best, naturally sweet flavor.
- Freeze the popsicles slightly before adding the popsicle sticks! If you put the popsicles in straight away, they will drop all the way down to the bottom of the mold and you won't have much to hold on to while you're eating it. Instead, let them freeze for about 40 minutes, then add in the popsicle sticks. This give you more control of the placement!
FAQ
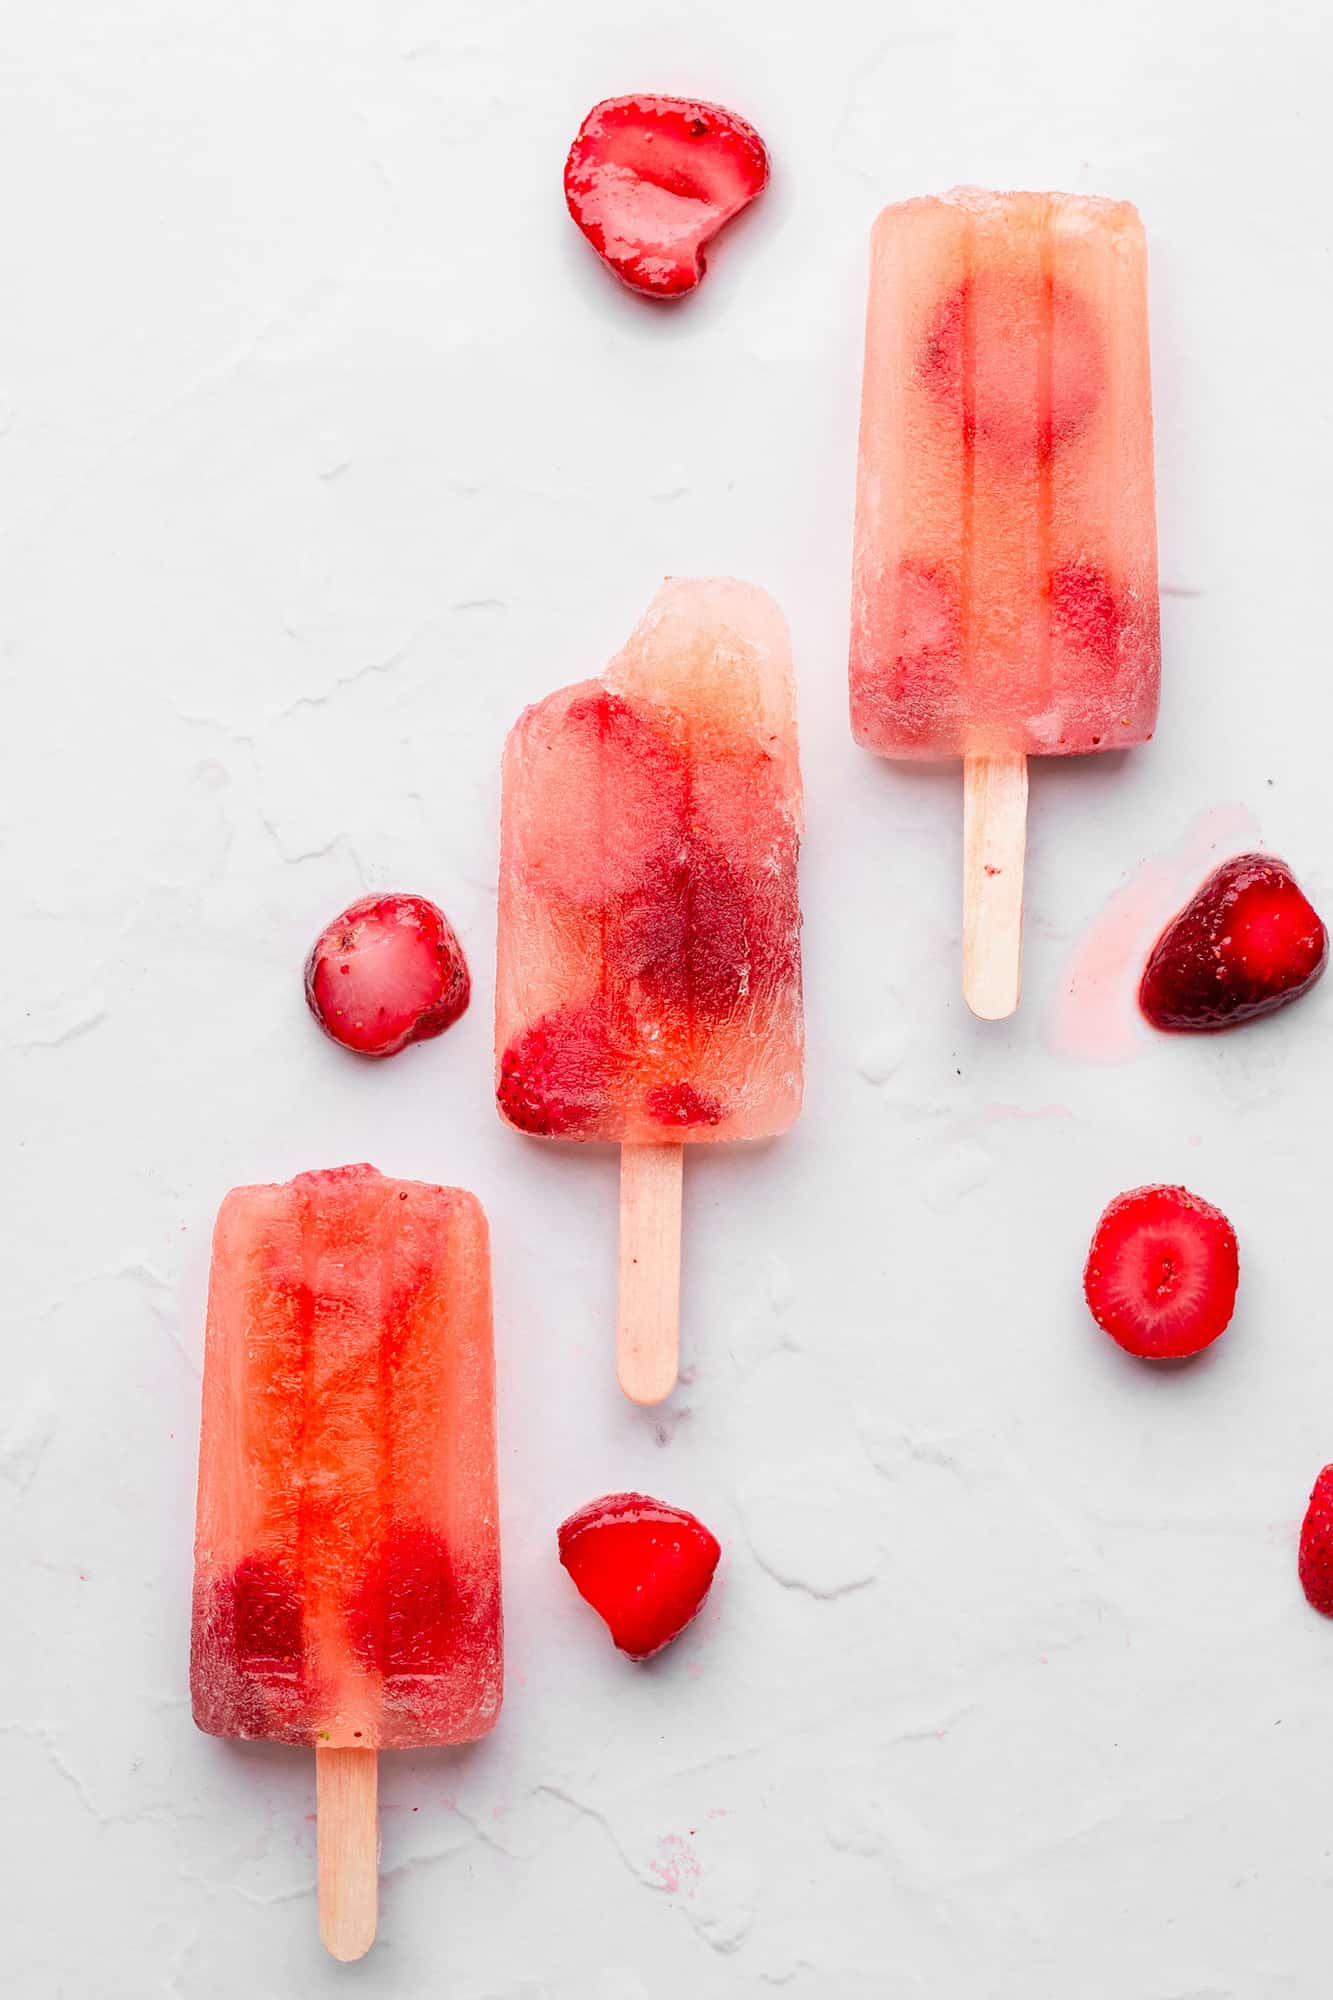
If you plan to eat them within a few days, you can keep them right in the mold you made them in! For longer storage, wrap each popsicle individually in plastic wrap then store in an airtight container in the freezer. This will keep them from getting stuck together.
If you follow the storage tips above, homemade popsicles will last up to 3-4 weeks in the freezer. After that, they'll lose their flavor.
Don't worry! There's a few ways you can make popsicles without a mold. You can use a baking tin like a mini muffin pan, paper or plastic cups, or ice cube trays to make mini popsicles!
If you make this recipe, be sure to snap a pic and tag me on Instagram. If you have any questions or feedback at all, send me an e-mail or leave a comment and review below. I hope you love this dish as much as we do!
📖 Recipe
Strawberry Lemonade Popsicles
Equipment
Ingredients
- 2 ¼ cups (540 g) water
- 3 tablespoons (36 g) lemon juice
- 1 ¼ cup (32 g) strawberries sliced
- ¼ cup (60 g) maple syrup
Instructions
- In a large bowl, mix together sliced strawberries, lemon juice, maple syrup, and water.2 ¼ cups water, 3 tablespoons lemon juice, 1 ¼ cup strawberries, ¼ cup maple syrup
- Using a ¼ cup measure and a funnel (funnel not necessary but super helpful so you don't spill), divide the mixture between a 10 cavity popsicle mold, leaving ~¼ inch of space at the top of each cavity.
- Put the lid on and freeze for 40 minutes. Remove from the freezer and add in the popsicle sticks.
- Place back in the freezer overnight or for at least 6-8 hours, until fully frozen.
- When you're ready to serve, run the bottom of the popsicle mold under water for ~20-30 seconds in order to easily release the popsicles. ENJOY!

Lauren
THESE WERE SO GOOD!! and so easy to make.
Mariann
Added a bit more lemon juice and less water and they came out perfectly! They were super refreshing, especially when it was 95 degrees out!
Pinch of Parsley
Yum! I will try that next time to make them a bit more tart.