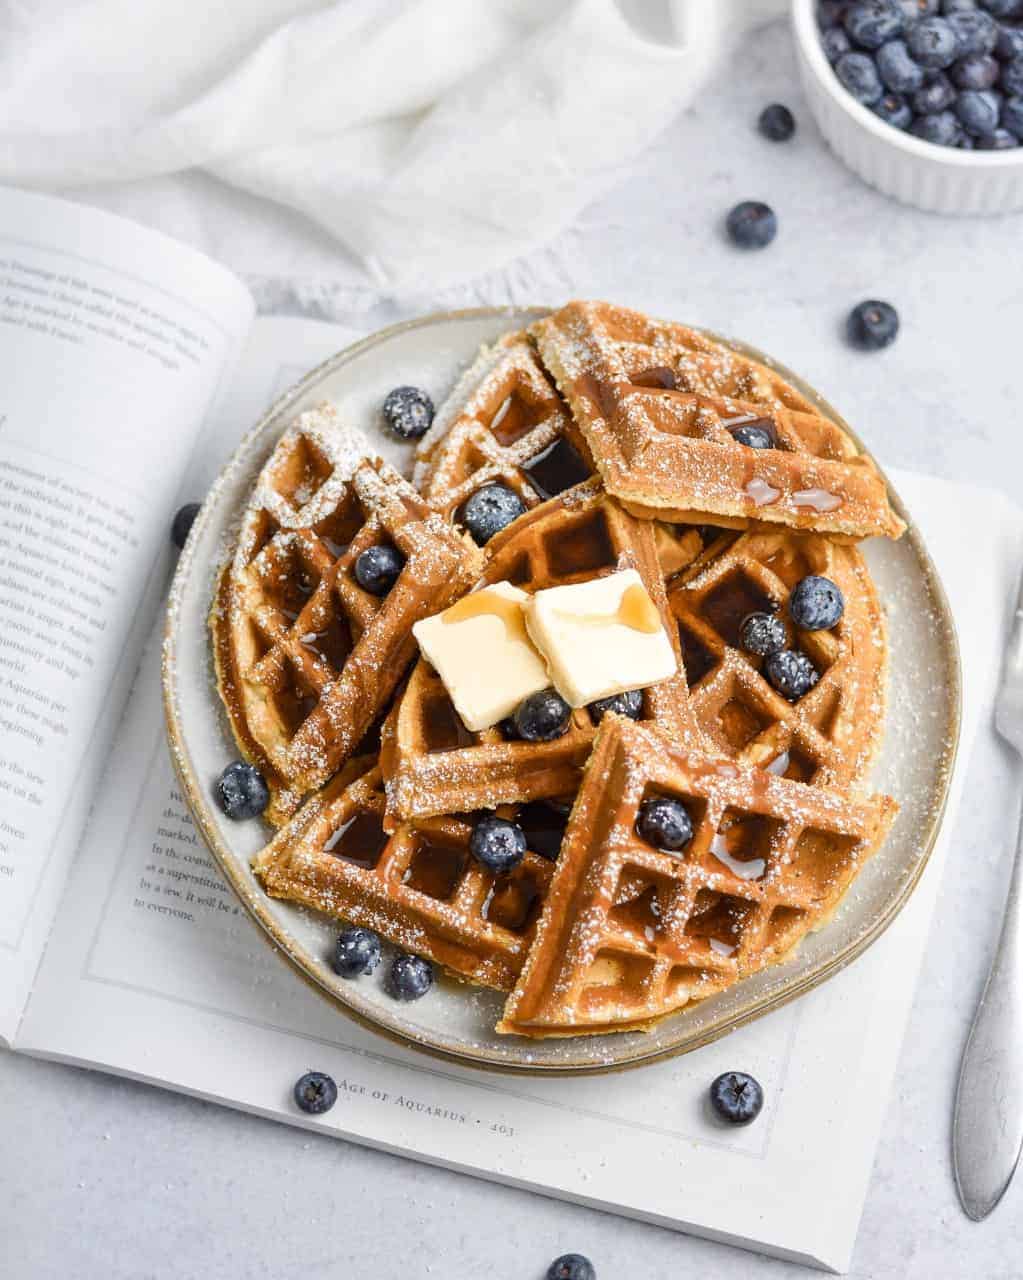
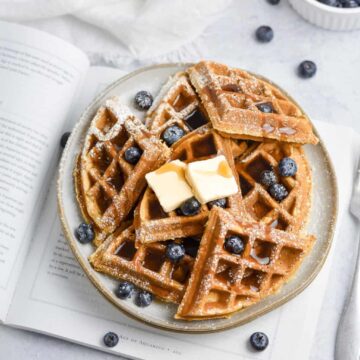
These classic vegan Belgian waffles are the best waffles ever - they're golden and crisp on the outside, yet soft and fluffy on the inside. Even better, they are easy to make, call for simple pantry staples, and you can customize them with chocolate chips or blueberries without messing up the batter!
Jump to:
Made with homemade vegan buttermilk, these vegan waffles taste just like the classic!
These classic vegan waffles are perfect for a weekend breakfast or brunch with friends - I personally recommend both Saturday and Sunday...of every weekend. This recipe is easy to make and calls for ingredients you likely already have in your kitchen.
Key Ingredients & Substitutions
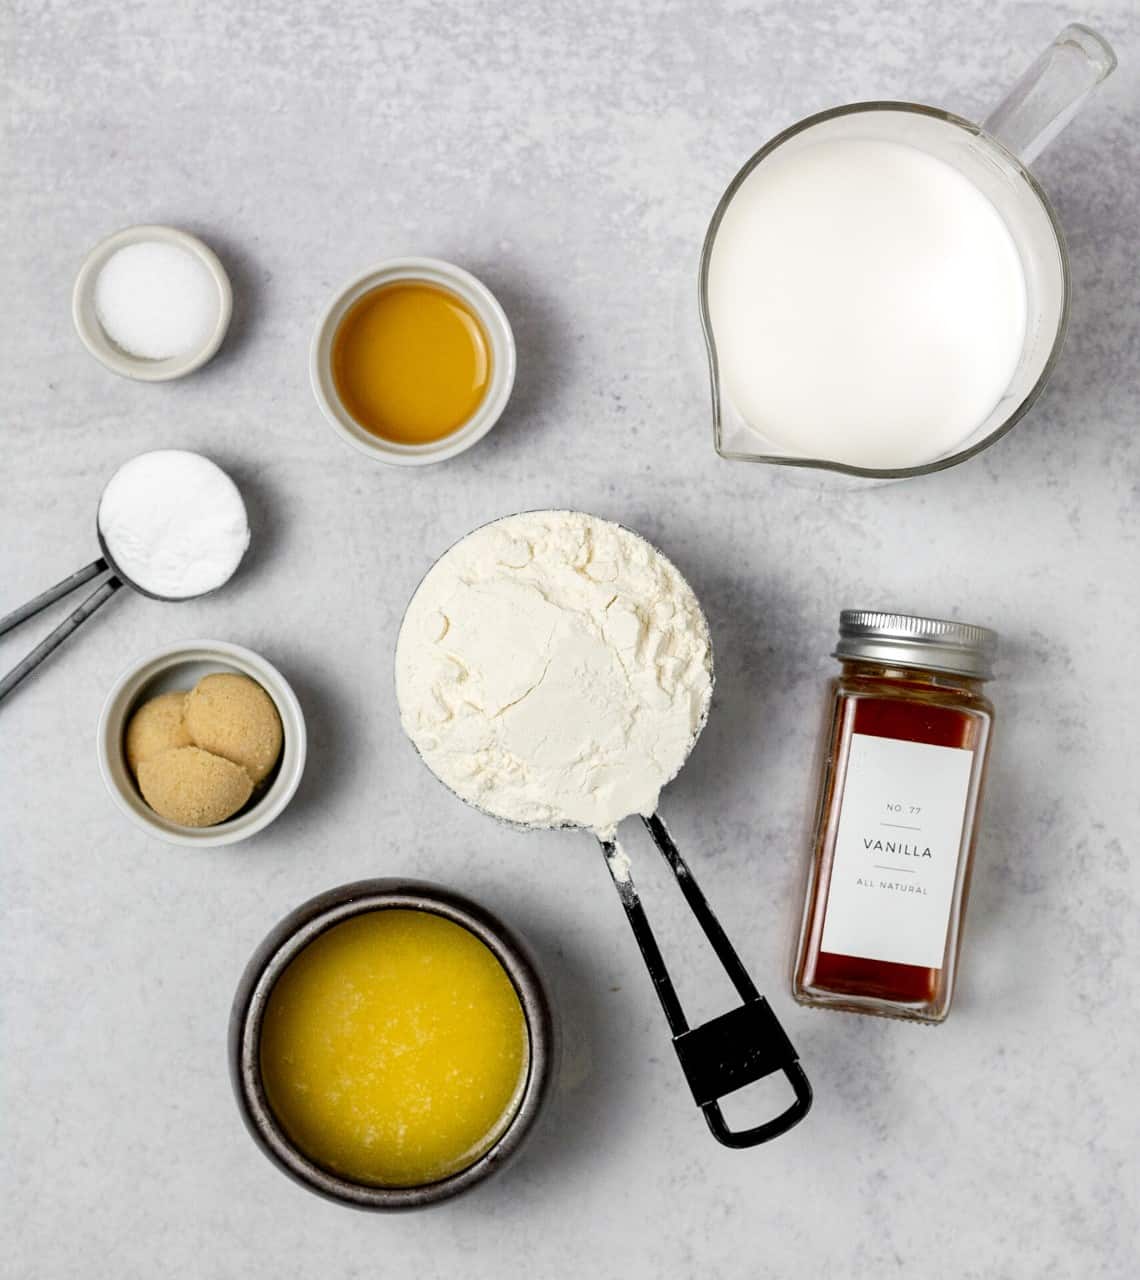
- Non-Dairy Milk: I've used oat milk, soy milk, and almond milk for this recipe and all of them have worked perfectly! Use whichever milk you like best.
- Apple Cider Vinegar: This is necessary to create vegan buttermilk, which will help the waffles rise and be fluffy! You can swap the apple cider vinegar with white vinegar or lemon juice, if needed.
- All-Purpose Flour: I find the waffles taste best with all-purpose flour, but you can use whole wheat flour, gluten-free flour, or spelt flour for these!
- Melted Vegan Butter: If you don't have vegan butter or don't like to use it, you can use coconut oil instead.
- Brown Sugar: You can swap this with granulated, cane, coconut or raw sugar. I just like brown sugar best because it adds some flavor that the others don't!
Instructions
Start by getting your waffle iron on and preheated according to the manufacturer instructions! I use this waffle iron - I love it because it makes giant, circular waffles that can be easily split into 4 smaller, triangles. It might seem silly, but it's great if you're having a brunch where you're eating many different foods or if you want to split that last waffle with your family. This waffle iron doesn't need to be greased and the batter never sticks to it! I like to set mine between 3 and 4.
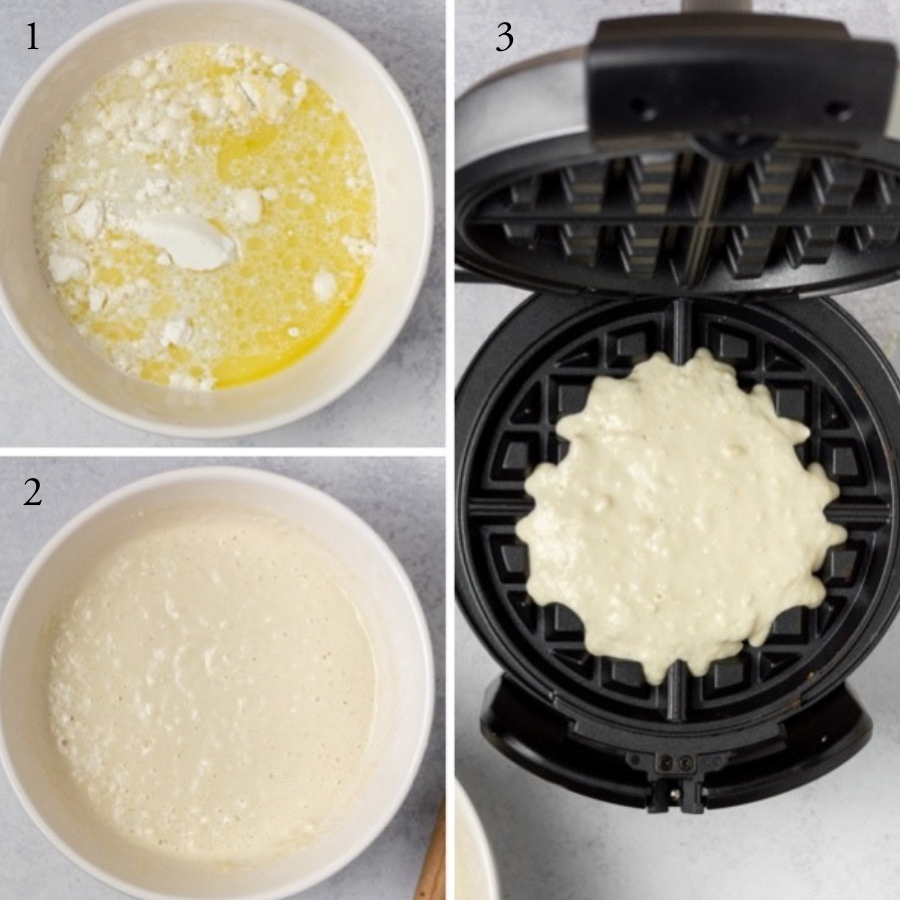
- In a large bowl, prepare vegan "buttermilk" and set aside for at least 5 minutes.
- Add the melted butter, sugar and vanilla extract to the buttermilk. Whisk to combine.
- In a separate small bowl, sift together flour, baking powder, and salt.
- Add the dry ingredients to the wet ingredients and mix until just combined.
- Pour batter onto waffle iron (grease beforehand, if needed) and cook as directed. The amount of batter you pour on will vary depending on the size of your waffle iron. I used about ¾ cup of batter per waffle.
- Repeat until all the batter has been used. Top with your favorite toppings and enjoy!
Waffle Toppings/Add-Ins
What I love most about these classic vegan waffles is that you can top them with whatever your heart desires. These are awesome when topped with vanilla 'ice cream,' the classic butter & maple syrup, caramel drizzle, bananas, and more. My go-to toppings are butter, maple syrup, confectioner's sugar, and a sprinkle of whatever add-ins I put in the batter.
What makes these waffles even better is that you can customize your waffle batter without messing it up! Here are my suggested add-ins:
- Chocolate chips, DUH!
- FRESH fruit, like blueberries (frozen fruit will defrost and can add unnecessary liquid to the waffle, making it a bit soggy)
- A dash of cinnamon
- Peanut or almond butter
Quick Tips
Although making waffles isn't as precise or delicate as baking a cake, I feel like waffles can turn out bad pretty easily. Hopefully, these tips will help you avoid a crappy waffle (AKA a dense, flat waffle)!
- Before making the buttermilk, allow the milk you're using to reach room temperature. This will lead to a fluffier waffle and makes it easier to mix the batter.
- Sift your dry ingredients! You can use an actual sifter, or a very tightly meshed strainer. This also helps to create a nice, fluffy waffle.
- Do not overmix your batter! The reason food bloggers always say to mix until JUST combined is because overmixing actually causes the gluten to be released prior to cooking and can lead to a dense, thick, and tough waffle (yuck).
- Steam is a waffle irons true and natural timer. When the steam stops coming out, your waffle is done cooking.
- If you're not ready to serve the waffles immediately, keep them in a warm oven at 180-200ºF until you're ready!
FAQ
Wrap the leftover waffles individually or seal them in an air-tight container. Store them in the refrigerator for 3 to 4 days.
To freeze the waffles, place as many as you can in a freezer-safe bag for up to 3 months.
Reheat the frozen or chilled waffles in a toaster oven until they’re warmed through and crispy.
Usually, each waffle iron has a control knob (or 'browning knob') that allows you to set how long the waffle cooks. I set mine between 3 u0026 4. Typically, most waffle irons will indicate when the waffle is u0022doneu0022 with an LED light turning a specific color. IGNORE THIS. The true way to tell if a waffle is done is when there is no more steam coming out of the waffle iron. I will say, the steam usually stops about a minute after the indicator light turns on, so you won't be waiting too much longer. Doing this will result in a perfectly crisp, yet soft and fluffy classic vegan waffle!
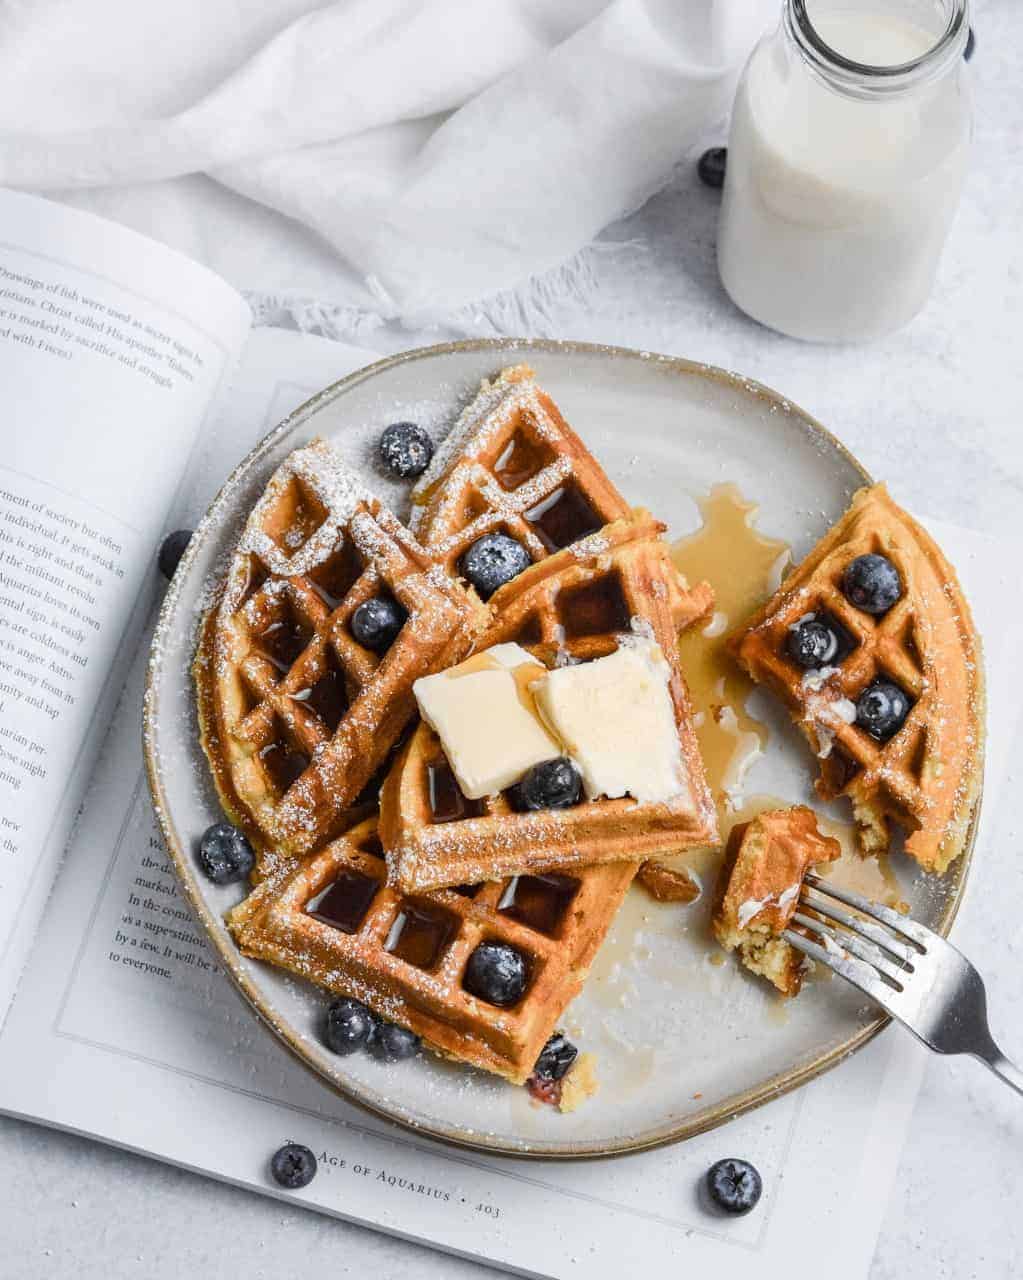
If you make these classic vegan waffles, be sure to snap a pic and tag me on Instagram. If you have any questions or feedback at all, send me an e-mail or leave a comment below! I hope you love them as much as we do!
📖 Recipe
Classic Vegan Waffles
Ingredients
- 3 cups non-dairy milk
- 3 tablespoons apple cider vinegar
- ½ cup melted vegan butter
- 2 tablespoons brown sugar
- 1 teaspoon vanilla extract
- 4 cups all-purpose flour
- 2 tablespoons baking powder
- 1 teaspoon salt
Serving suggestions:
- butter
- maple syrup
- confectioner's sugar
- fruit or chocolate chips
Instructions
- In a large bowl, make the buttermilk by whisking together milk and apple cider vinegar. Let this mixture sit and thicken up for at least 5 minutes.3 cups non-dairy milk, 3 tablespoons apple cider vinegar
- Add the sugar, melted butter and vanilla extract to the buttermilk and whisk to combine.½ cup melted vegan butter, 2 tablespoons brown sugar, 1 teaspoon vanilla extract
- In a separate bowl, sift together flour, baking soda and salt.4 cups all-purpose flour, 2 tablespoons baking powder, 1 teaspoon salt
- Add the sifted, dry ingredients to the buttermilk mixture. Mix until just combined, do not overmix! It should be a thick, semi-lumpy batter. If you're adding anything like blueberries or chocolate chips, do it now and stir once more to distribute.
- Set your waffle maker to your preferred cooking time (I have mine set at 3.5). Depending on the size of your waffle maker, scoop ½ cup - 1 cup of batter onto your waffle maker. Close, rotate, and cook until the steam stops coming from the waffle maker. The steam should stop right around when your waffle maker says it's ready, but sometimes it doesn't stop for another minute or two.
- Repeat until all the batter has been used.
- Serve immediately and with your favorite toppings.


Lauren
These are SO GOOD.
Robert
I burnt my first waffle but the rest came out amazing, great recipe
Pinch of Parsley
Glad they turned out great! Thank you for your comment 🙂
Mariann
THE BEST WAFFLES PERIOD. Followed the recipe exactly and came out great.
Pinch of Parsley
So glad you enjoyed 🙂
Jacy NearyWood
When do you put in the 1/2 cup of vegan butter?
I can’t rate this accurately right now
Lauren Casolaro
Hi Jacy, so sorry for the confusion, I've updated the recipe card. The melted butter should be added to the wet ingredients!